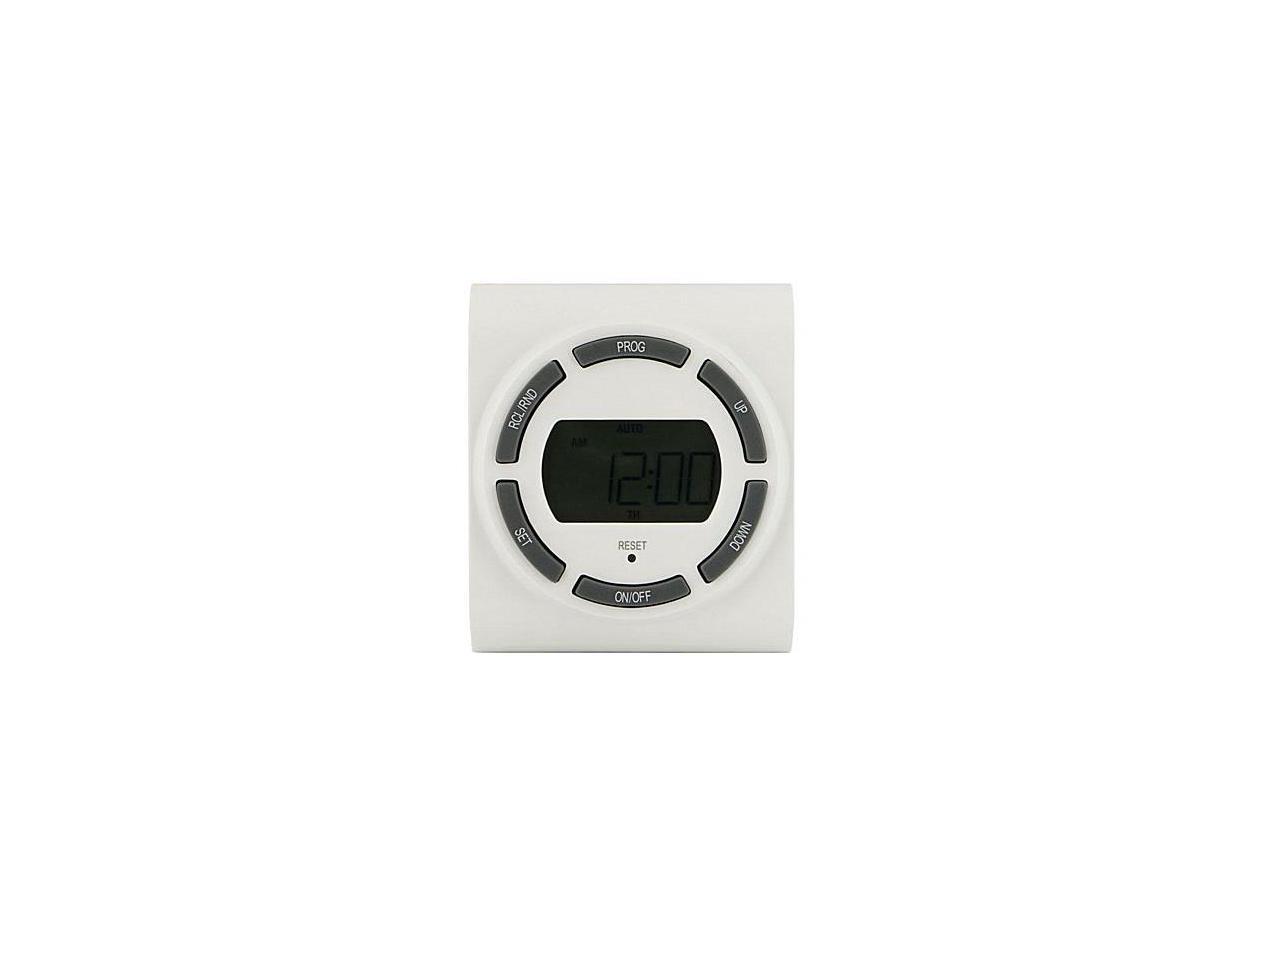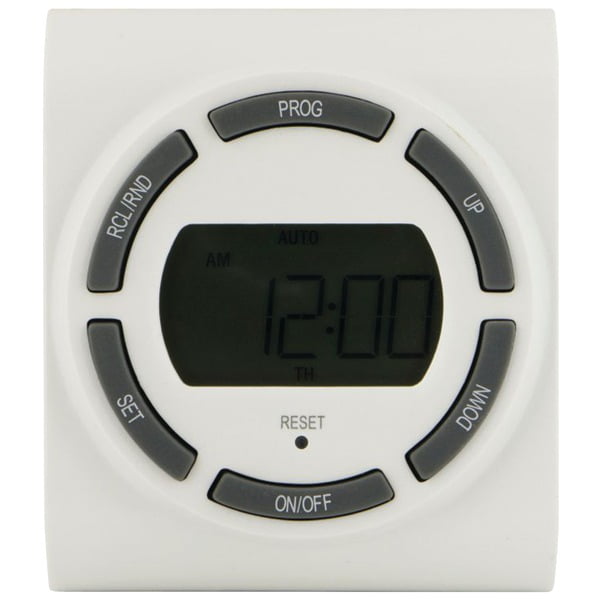

If any keys are pressed for a prolonged period, the display will advance rapidly.Ħ. Press the “DAY” key to advance the day.ĥ. Press the “MIN” key to advance the minutes.Ĥ. Press the “HOUR” key to advance the hours.ģ.


Press and HOLD the “CLOCK” key during this entire procedure.Ģ. The display should flash 12:00AM on Monday.ġ. Press the “RESET” button using a paper clip.Ĥ. Lift up the bottom of the door using a small slotted screwdriver.ģ. Mount the timer to the wall box being careful not to crush any wires.ġ. Tuck the wires into the wall box leaving room for theTimer. Note: Be sure that all wire nuts are secure.Ĥ. Connect the wires ofTimer and wall box as followed by using the wire nuts provided.Ī) Connect the Hot/Live wire of main power to the Black wire fromTimer.ī) Connect both the Neutral wires of main power and Load to the White wire fromTimer.Ĭ) Connect the Hot/Live wire of Load to the Red wire fromTimer.ĭ) Connect the Ground wire to the Green wire fromTimer. Then press the “HOUR” and “MIN” keys until -:- is displayed.Then press the “PROG” key in order to delete this particular program.ģ. To delete a particular program simply press the “PROG” key until the desired program is displayed.Ģ. When complete press the “CLOCK” key to return to current time and day.ġ. Any program can be edited by pressing the “HOUR”, “MIN”, and “DAY” keys.Then press the “PROG” key in order to accept the changes.ģ. Each time you do this you will be able to scroll thru the programs.Ģ. To review the programs that have been entered, press and release the “PROG” key. The “TIMER” symbol will no longer be on the display.ġ. To de-activate press the “DAY” and “HOUR” keys at the same time again. Once activated the “TIMER” symbol will be blinking.Ģ. To activate press the “DAY” and “HOUR” keys at the same time. This function will only operate if one or more programmed switching commands are set.ġ. This feature sets the timer to switch lights ON and OFF at random intervals while you are out of the house.


 0 kommentar(er)
